Managing Assets in Flutter: A Beginner-Friendly Guide
Flutter allows you to add images, fonts, and other files, known as assets, to enhance your application's design and functionality. This guide will help you understand the concept of assets and how to manage them effectively in your Flutter project.
What Are Assets?
Assets are external files bundled with your app, such as:
Images: PNG, JPG, GIF, SVG, etc.
Fonts: Custom typography files like TTF or OTF.
Data files: JSON, CSV, text, or any static files.
These files are loaded at runtime and are part of your app’s package.
Why Use Assets in Flutter?
Consistent branding: Custom fonts and images give your app a unique identity.
User experience: Local assets are faster to load than fetching files from a remote server.
Offline access: Bundled assets work without internet connectivity.
Step-by-Step Guide to Managing Assets
1. Adding Assets to Your Project
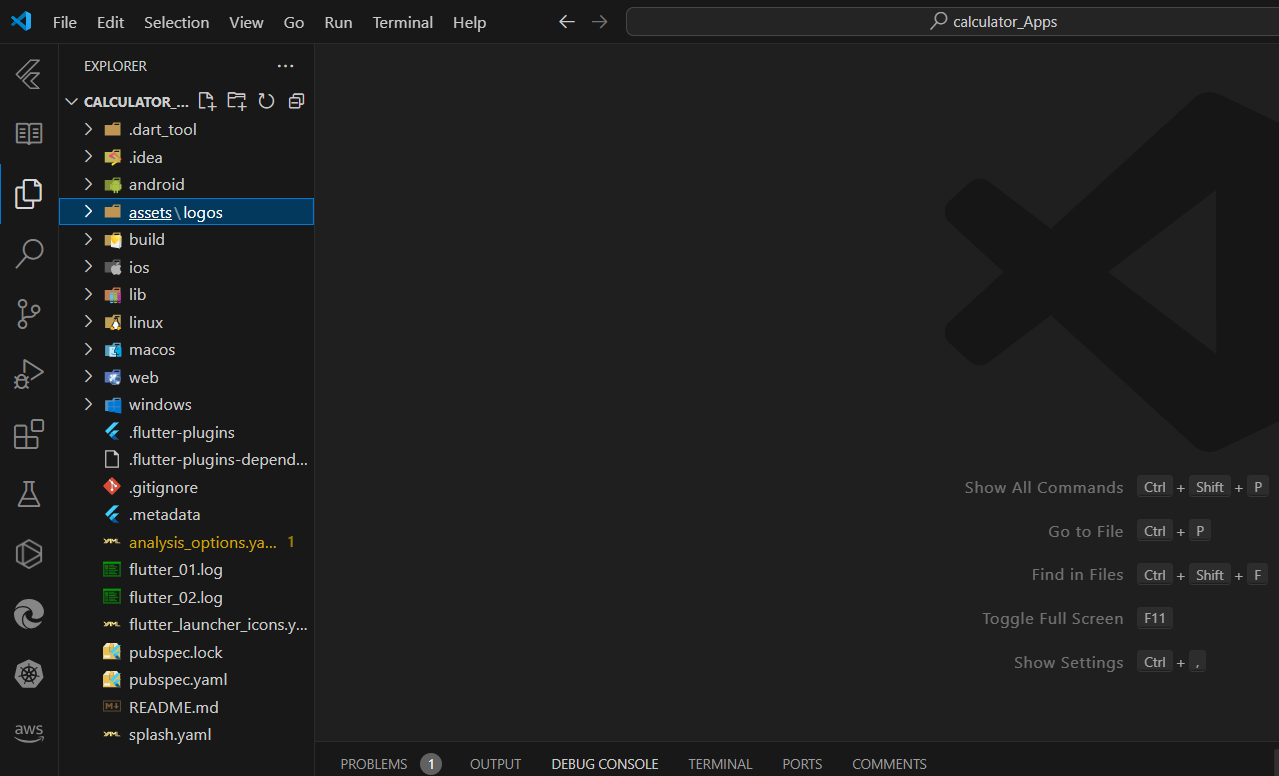
Create an
assetsfolder in the root of your project:Right-click the root directory.
Create a new folder and name it
assets.Organize assets into subfolders like
assets/images,assets/fonts, etc.
Place your asset files into the respective subfolders.
Example folder structure:

2. Declare Assets in pubspec.yaml
The pubspec.yaml file is where you register your assets.
Open the
pubspec.yamlfile.Add the
assetskey under thefluttersection.List the paths to your assets.
Example:
flutter:
  assets:
    - assets/images/logo.png
    - assets/images/background.jpg
If you want to include all assets in a folder:
flutter:
  assets:
    - assets/images/
Important:
Indentation matters. Use two spaces for indentation.
Ensure the file paths are correct.
3. Loading Assets in Your Code
Flutter provides widgets and methods to load assets.
Loading Images
Use the Image.asset widget to display images.
Example:
import 'package:flutter/material.dart';

class HomePage extends StatelessWidget {
  @override
  Widget build(BuildContext context) {
    return Scaffold(
      appBar: AppBar(title: Text('Home')),
      body: Center(
        child: Image.asset('assets/images/logo.png'),
      ),
    );
  }
}
Loading Text Files
Use rootBundle to load text files.
Example:
import 'package:flutter/services.dart';

void loadTextFile() async {
  String data = await rootBundle.loadString('assets/data/sample.txt');
  print(data);
}
4. Using Custom Fonts
Place font files in the
assets/fonts/directory.Declare fonts in
pubspec.yaml:flutter: fonts: - family: CustomFont fonts: - asset: assets/fonts/custom_font.ttf- Apply the font in your app:
import 'package:flutter/material.dart';

void main() {
  runApp(MyApp());
}

class MyApp extends StatelessWidget {
  @override
  Widget build(BuildContext context) {
    return MaterialApp(
      theme: ThemeData(
        fontFamily: 'CustomFont',
      ),
      home: HomePage(),
    );
  }
}

class HomePage extends StatelessWidget {
  @override
  Widget build(BuildContext context) {
    return Scaffold(
      appBar: AppBar(title: Text('Custom Font Example')),
      body: Center(
        child: Text('Hello, Flutter!'),
      ),
    );
  }
}
5. Organizing Your Assets
Use clear and consistent naming conventions.
Group related assets into subfolders (e.g.,
images,fonts,data).Avoid large file sizes to keep your app lightweight.
6. Handling Errors
If an asset fails to load:
Check the file path: Ensure it matches the declaration in
pubspec.yaml.Verify indentation in
pubspec.yaml.Run
flutter cleanandflutter pub getto refresh your project.
Tips for Best Practices
Optimize assets: Compress images and remove unused assets.
Test on all platforms: Assets may behave differently on iOS and Android.
Use SVGs for scalable graphics: They are lightweight and adapt to various screen sizes.
Conclusion
Managing assets in Flutter is simple and powerful once you understand the basics. By following this guide, you can confidently add and organize assets in your app, enhancing its appearance and functionality.
Ready to experiment? Try adding some assets to your Flutter project now! Let us know your thoughts or any challenges in the comments below on askflutter.com. 🚀